Microsoft Endpoint Manager/Intune MDM can be used to deploy the Foldr app to macOS clients using the PKG installer file.
System Requirements
macOS 10.9 or higher
macOS 12.1 for Apple File Provider file system
If macFUSE is going to be used at the file system instead of the apps default (Apple File Provider), this needs to installed and approved outside of the installation covered in this article
Where to get the app
The latest app .PKG release in .ZIP format for macOS is available here:
Unzip the file before proceeding
Installing the Foldr app with Intune
1. Log into https://intune.microsoft.com with a suitable administrative account.
2. Click Apps
3. Click macOS
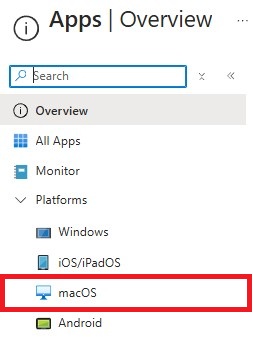
4. Click + Add
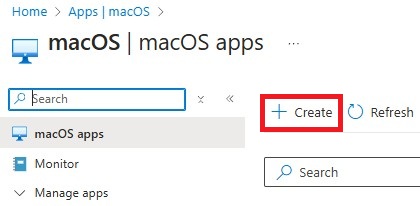
5. Select Line-of-business app from the App type drop-down menu
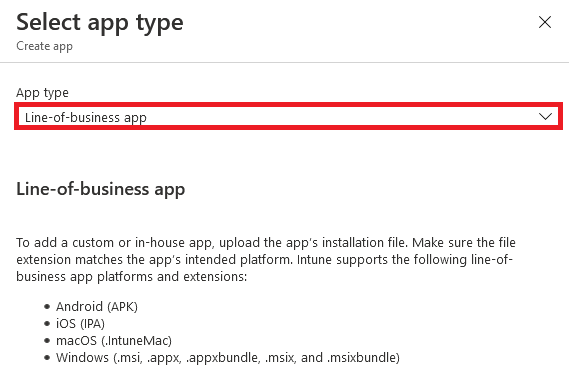
6. Click Select
![]()
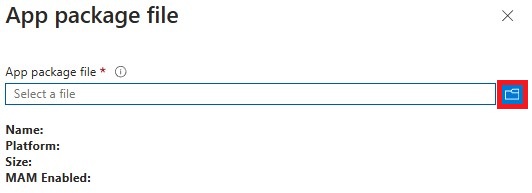
7. Click Select app package file
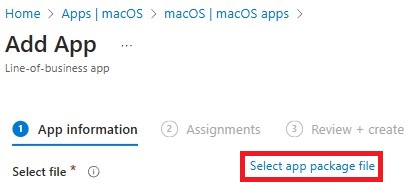
8. Click Select a file
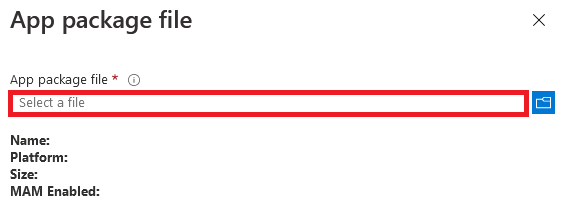
9. Browse to the Foldr .pkg file. The latest .pkg installer can be downloaded here.
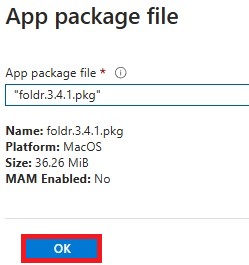
10. The package summary will populate. Click OK
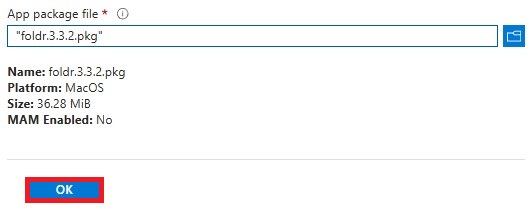
11. Enter a suitable name, description and pulisher name
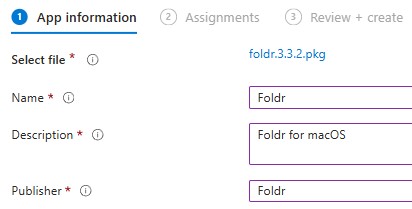
12. Set the following:
Ignore app version = NO
Install as managed = NO
Note – The install cannot be set as ‘managed’ as the app PKG, contains two separate apps. Managed apps can only contain one app bundle.
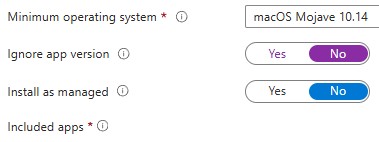
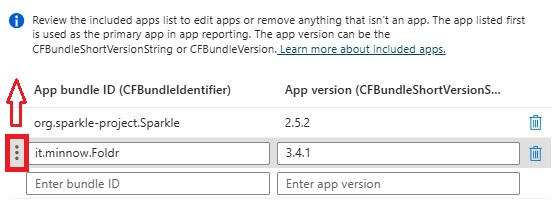
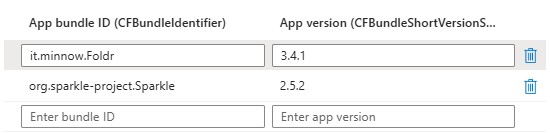
The included apps section will be populated with two packages.
The sparkle package refers to the built-in updater that the app uses and the main Foldr macOS app will be listed underneath.
IMPORTANT – Click and hold on the highlighted button below and drag it ABOVE the sparkle bundle ID.
Release the mouse and the app with bundle ID it.minnow.Foldr must be ABOVE org.sparkle-project.Sparkle
Failure to do the above step will result in the App version being shown incorrectly in Intune. (The Sparkle version will be shown instead of the version of Foldr app)
13. Click Next
![]()
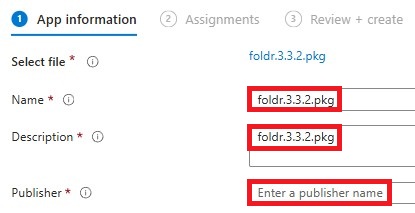
14. In the Assignments screen, under Required, click + Add group or + Add all devices as required to choose which clients are to be targeted with the app deployment.
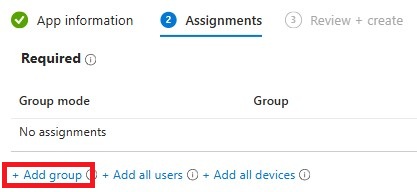
15. In this example, after clicking + Add group we are searching for a pre-existing group called macos Software Installs in the Entra / Azure tenant that contains macOS enrolled devices.

16. Click Next
![]()
17. The Review + create panel will display a summary of the configuration options to be used.

Click Create
![]()
18. After a few seconds, you will see a notification (top-right) that the Foldr pkg file is being uploaded to Intune.
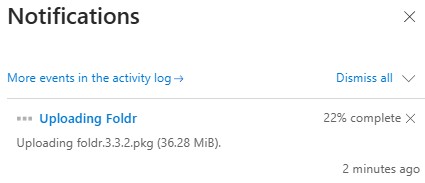
19. The upload will take a few minutes to complete, during which the following summary message will display

Once the app has uploaded, the message will be removed.
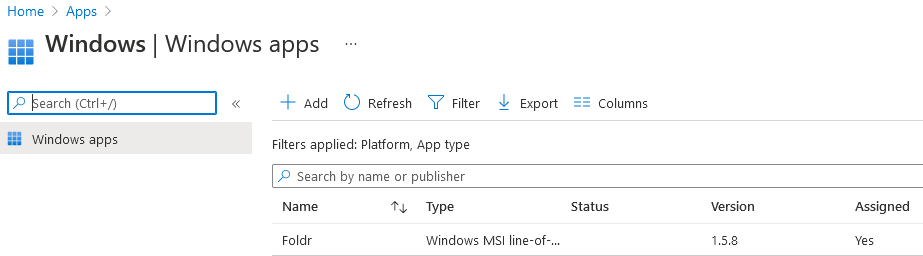
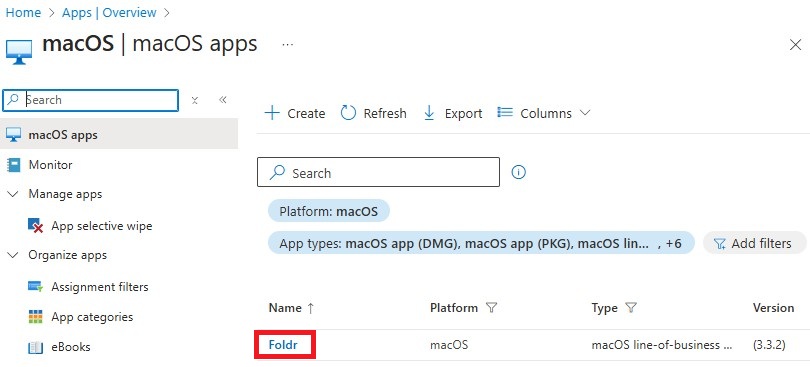
20. Foldr will be shown in the macOS apps list and when clients next check-in with Intune.
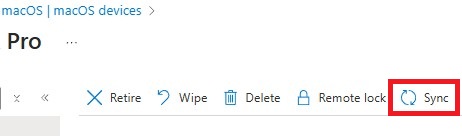
21. Should you wish to force a client to sync with Intune and receive new software installations/policies, the Sync button may be used in the device summary screen.
22. The app should install automatically and be available on the client under Finder > Applications > Foldr
Upgrading the Foldr app with Intune
To upgrade the app, the administrator can edit the existing Foldr macOS app in Intune and replace the pkg file with a later version to be deployed on macOS devices/
The recommended method to upgrade the app in Intune is to locate the existing Foldr app in Intune > Apps > macOS > Foldr and replace the pkg installer with the new version
1. Browse to the app in Intune > Apps and select the Foldr app
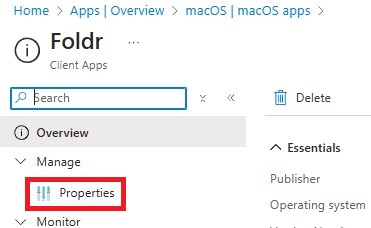
2. Click Properties
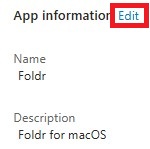
3. Click Edit
4. Click the existing .pkg package file (v3.3.2 in the example below)
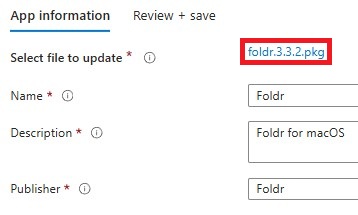
5. Click the folder icon or ‘select a file’ text
6. Browse to the new foldr.x.x.x.pkg file that you want to install. Click Open

7. Click OK
8. Reorder the apps list as shown below.
IMPORTANT – In the included apps list, scroll down and locate the app bundles included in the package. Drag the Foldr app with bundle ID it.minnow.Foldr so that it is listed ABOVE the sparkle-project app
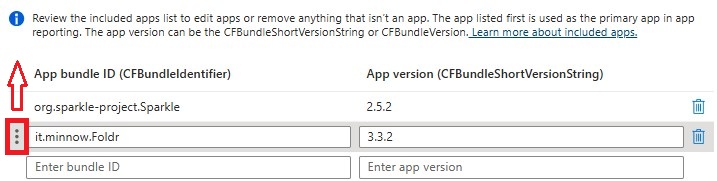
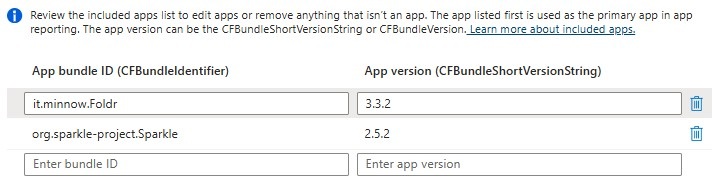
The included apps list should now look as follows. Note it.minnow.Foldr is top of the list
9. Click Review + save
![]()
10. The summary screen will displayed. Click Save
![]()
After a few seconds, you will see a notification (top-right) that the new .pkg file is being uploaded to Intune.

Once the upload has completed, the new version of the app will be displayed in the App summary screen and macOS enrolled clients will upgrade when they next check in to Endpoint Manager/Intune. Note that the app must be closed (not running) in order for the upgrade to take place.
Configuring Foldr app preferences (server address, updates, file system mode etc)
Various aspects of the app can be configured by setting admin preferences on the Mac by a script. This populates values to a plist file on the macOS device and will be used by each new user that signs into the Mac.
Available configurable options are:
– FOLDR_SERVER
– UPDATES_ENABLED
– SIGN_OUT_ON_EXIT
– VOLUME_NAME
– SHARES
– OPEN_DRIVE_DEFAULT
– DETECT_RENAME_THREAT
– DETECT_EXTENSIONS_THREAT
– GATEKEEPER_REQUIRED
– FILEVAULT_REQUIRED
– USE_MY_FILES
– PRESERVE_WRF_ON_SIGN_OUT
– USE_OFFICE_ASSIST
– USE_FILE_PROVIDER
These options are described in more detail in the general Foldr for macOS installation article here
To configure app options with Intune, you can use the ‘Scripts’ function to run a script one time on the enrolled macOS devices and set the required options as required.
sudo defaults write /Library/Preferences/it.minnow.FoldrAdmin.plist OPTION VALUE
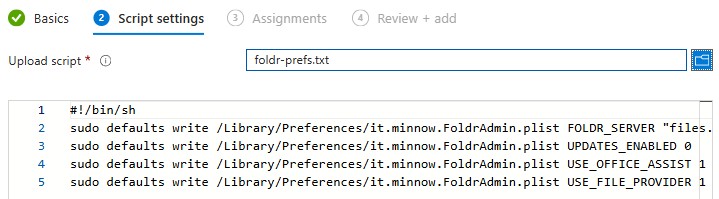
Create the script that you wish to execute on your macOS devices, using a text editor. This can be saved in .txt or .sh formats.
#!/bin/sh

sudo defaults write /Library/Preferences/it.minnow.FoldrAdmin.plist FOLDR_SERVER "files.foldr.cloud"

sudo defaults write /Library/Preferences/it.minnow.FoldrAdmin.plist UPDATES_ENABLED 0

sudo defaults write /Library/Preferences/it.minnow.FoldrAdmin.plist USE_OFFICE_ASSIST 1

sudo defaults write /Library/Preferences/it.minnow.FoldrAdmin.plist USE_FILE_PROVIDER 1
In the example script below, the server address is configured as files.foldr.cloud (no https:// prefix is necessary), updates are disabled (as they are going to be managed through Intune), Office Assist is enabled and the Apple File Provider will be the file system used. Users are not able to adjust the configuration of these items in the app settings as they will either appear greyed out or hidden entirely depending on the option.
1. In the Intune interface, click Devices > macOS > Scripts

2. Click +Add
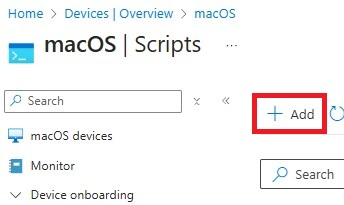
Give the script a suitable Name
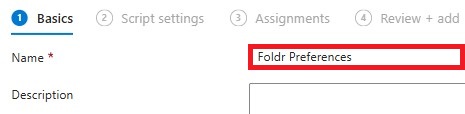
3. Click Next
![]()
4. Click the folder icon to browse for the script

5. Select the script file on your local machine and it will be shown in the summary screen.
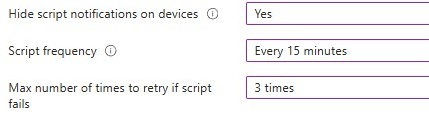
6. Scroll down and select Run script as signed in user = NO
![]()
Important – setting the above to no ensures that the script is run as root which has the privileges required to write to the plist file.
7. Set the other options as required, example settings below:
8. Click Next
![]()
9. On the assignments screen, target the script at a suitable group or all devices as required. In the example below, the pre-existing group macOS Software Installs has been used. Adjust as required.
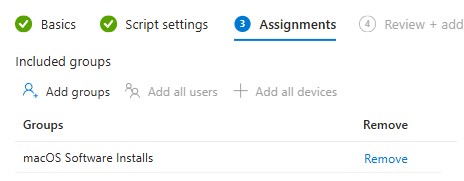
10. Click Next
![]()
11. On the Review + add summary screen, click Add
![]()
The configuration is now complete. The next time a macOS device that has been targeted by the script checks in, the script should execute and run on the device.
Confirming app preferences
In the macOS Terminal, you can run the following command to confirm app preferences and if the script has executed successfully. The command should output the configuration set in the script configured in Intune if it’s been executed on the device successfully.
sudo defaults read /Library/Preferences/it.minnow.FoldrAdmin.plist