Deploying the Foldr Server on VMware vSphere – ESXi
Foldr server v5.0 supports UEFI and secure boot options. The Foldr server for VMware is provided in .OVA format which is preconfigured to configure the Foldr virtual machine with 4GB RAM, 2vCPU cores and has a system hard disk configured for 10GB. On VMware deployments this disk needs to be increased after importing onto the host/cluster – this is covered later in the article below.
The server is provided with open source VMware Tools pre-installed and the VM supports EFI firmware boot and secure boot.
Deploying the Foldr Server
First download the latest Foldr server OVA file using the link provided by your reseller or Foldr support. Save to a suitable location on your server/workstation.
Log into the VMware vCentre or ESXi web client using a suitable administrative account.
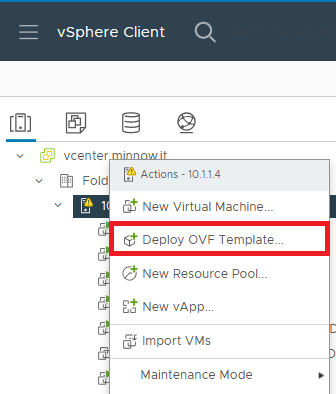
If using vCenter, right click on the ESXi host and select Deploy OVF Template
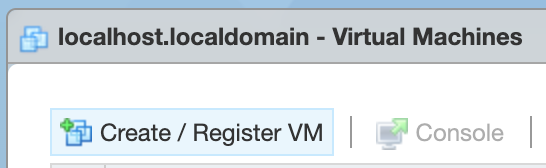
If connected directly to an ESXi host (no vCenter), click on Virtual Machines and select Create / Register VM
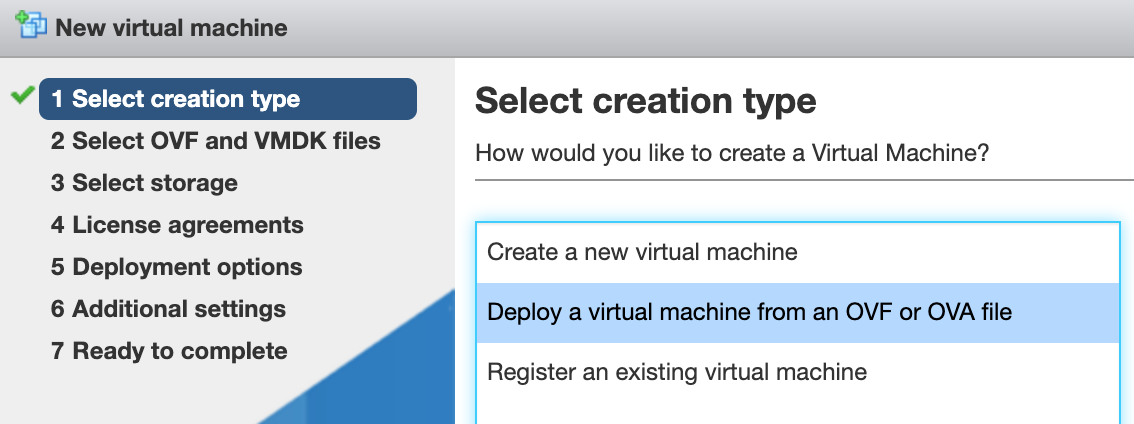
The remaining steps are taken from a vCenter deployment. Standalone ESXi is similar, but the UI is slightly different with less options presented.
Select Local file and click UPLOAD FILES
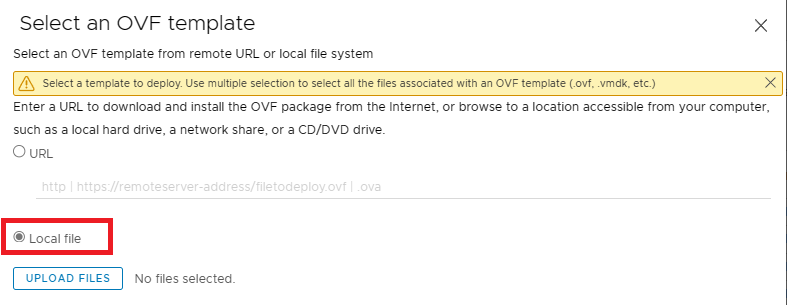
Browse to the Foldr-latest.ova file in the pop-up Explorer / Finder window and finally click Next
Give the VM a suitable name and click Next

On the Select a compute resource screen, select a suitable host/cluster and click Next
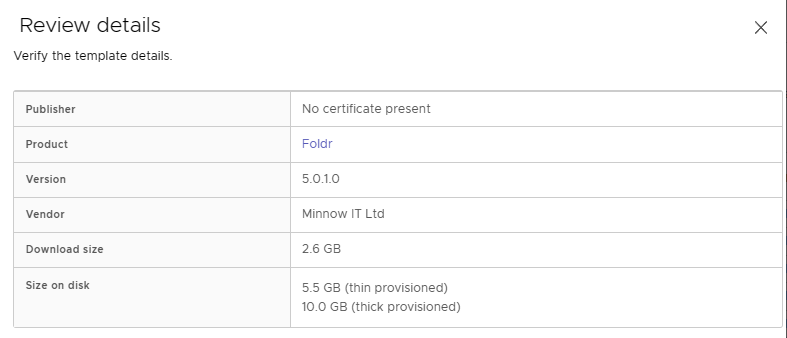
A review summary screen will be shown. Note the disk size consumed when deployed thin vs thick provisioning. Click Next
The End User Licence Agreement will be shown. Check the box to agree to the licence agreement and click Next

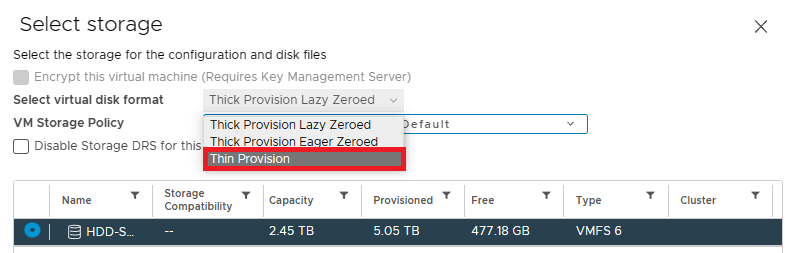
On the Select Storage screen, select a suitable datastore. When doing this, it is recommended that you select thin provisioning as the disk format. Click Next
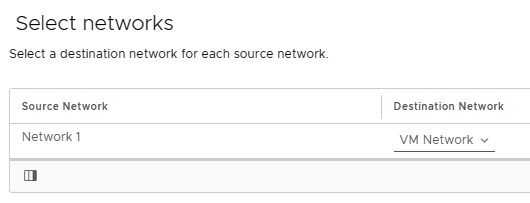
On the Select networks screen, select a suitable Destination Network for your environment. Click Next
On the Ready to complete screen, confirm the summary and finally click FINISH

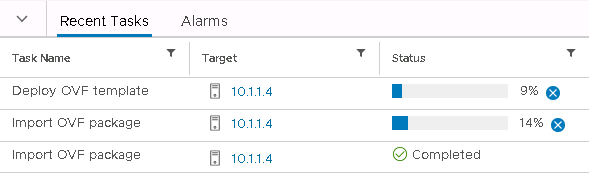
The import process will begin and its progress can be monitored in the VMware web client task panel
Once the Import had completed, the virtual disk should be increased to a suitable size. This is very important before powering the server on.
Increasing the Size of the Virtual Disk (Important!)
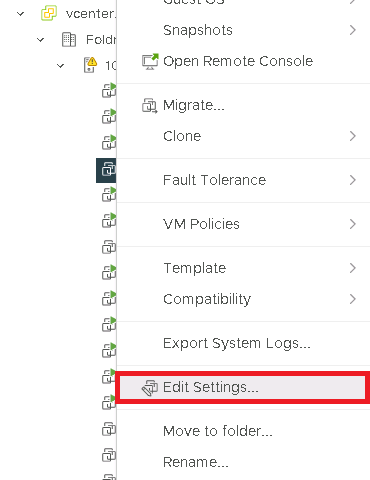
Right-click on the Foldr VM in VMware and select Edit Settings…
On the VM configuration screen, increase the virtual disk size from 10GB to 100GB. A different value may be used if required in the environment, but 100GB is recommended.
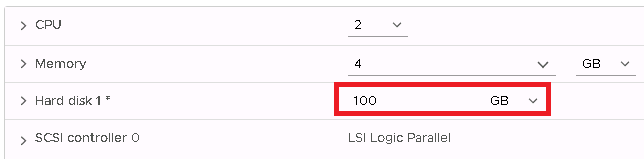
Click OK to confirm changes

The virtual machine can now be powered on.

The server will go through a one-time setup routine automatically after which it will reboot.
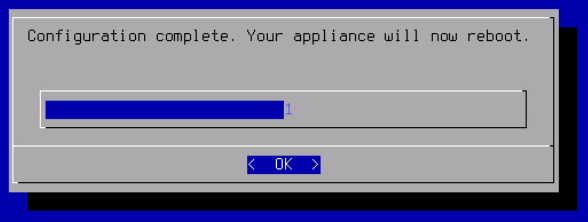
When the server setup is complete, the system will arrive at the following console screen
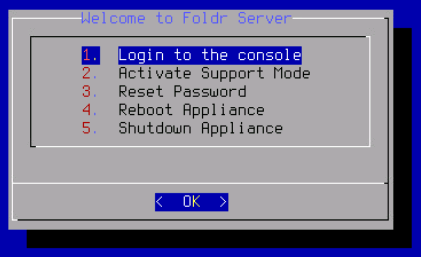
Log into the Foldr console by selecting (hit Enter) on option 1 on the menu screen. Enter the fadmin password as ‘password‘ (no quotes) and hit Enter
Now, run the command:
expand-disk

Confirm the changes at the prompt with y and hit Enter

The server will now reboot. Once the system has booted fully and arrives at the console screen, its IP address (obtained by DHCP) will be shown at the top of the console screen.

Browse to the Foldr Settings (admin web interface) at https://address-of-foldr/settings (redirects to :30537/settings)
Sign in using the default admin credentials:
Username: fadmin Password: password
The disk size can be confirmed in the Appliance tab (top-left > System tab
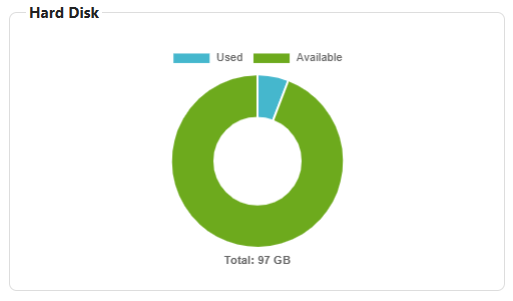
The server is now ready to be licenced and configured.