If you have an existing UCC/SAN or wildcard certificate, this can be imported into Foldr.
In the case of a SAN certificate you will need to add the Foldr common name (the server public URI) to the list of Subject Alternative Names. Wildcard certificates are usually available / exported from other existing servers in PFX format which is commonly used in Microsoft Windows Server environments.
PFX Certificate Installation
A certificate in PFX format contains both the signed certificate and private key, as such you must extract each as individual files so they are available to install into the Foldr appliance.
If using a Windows workstation install OpenSSL complete package from (Mac OS X has OpenSSL built in):
https://slproweb.com/products/Win32OpenSSL.html
(The ‘light’ versions for x64 and x86 are fine for this purpose)
Open an elevated command prompt and change directory to:
C:\Program Files\OpenSSL-Win64\bin (copy your PFX here also) and issue the following commands – Note, if using x86 the installation directory will differ:
1. Extract the private key from the PFX file (assuming your PFX is called publicAndprivate.pfx) and write it to a PEM file called (privateKey.pem)
openssl.exe pkcs12 -in publicAndprivate.pfx -nocerts -out privateKey.pem
2. Extract the certificatefrom the PFX file (called publicCert.pem):
openssl.exe pkcs12 -in publicAndprivate.pfx -clcerts -nokeys -out publicCert.pem
3. Remove the password from the private key file (writes a new file called private.pem):
openssl.exe rsa -in privateKey.pem -out private.pem
Both files that you create at steps 1 & 2 will be written to the bin directory. Please note, it is vital that you remove the password from the private key otherwise the certificate installation will fail.
Browse to https://address_of_Foldr:30537/settings and log in as fadmin.
Browse to the Certificates tab and open your certificate, decrypted (password removed) private key, root and intermediate certificates for your CA in a text editor and paste into the relevant boxes.
NOTE – Always include both the – – – BEGIN CERTIFICATE – – – and – – – END CERTIFICATE – – – sections – ignore / leave out any other header attributes if shown in your certificate file.
Click Save and your certificate will be installed after several seconds.
Configuring the External Hostname
Foldr server release v4.22.1.2 introduces a security feature where the server will reject client requests if the supplied HTTP header header is different than what is configured on the server. This feature is optional and to enable it the administrator should configure the ‘External Hostname’ in the Foldr Settings > Appliance > Network tab.
Where no External Hostname is configured, the server will respond to client requests as normal, regardless of the host header provided.
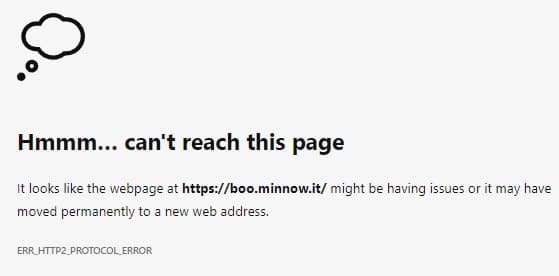
To use this feature, the External Hostname should be set to public/external fqdn of the Foldr server. If this is set to some other value, clients will see the following error (or similar depending on browser/app)