Installing a signed SSL certificate
The Foldr server can also obtain a signed certificate at no cost via the Let’s Encrypt CA, which is the simplest path when your environment allows it. Inbound HTTP (port 80) needs to be reachable, and your firewall / web filter must not be doing HTTPS inspection between Foldr and Let’s Encrypt. See the Let’s Encrypt article for that flow.
When Let’s Encrypt isn’t viable (filtered network, hostnames Let’s Encrypt can’t reach) you can install a paid-for certificate from a traditional CA. GoDaddy, Sectigo, DigiCert, GlobalSign, etc. A standard domain-validated (DV) certificate covering a single common name is enough for Foldr, but SAN/UCC and wildcard certificates are also fine.
HSTS implications. Read this before installing
The Foldr appliance has HTTP Strict Transport Security (HSTS) enabled by default and it cannot be disabled. Once your users have hit Foldr over HTTPS with a signed certificate, their browsers will require a valid signed certificate for that hostname from then on.
Practically that means:
- Don’t install a signed certificate until you’re confident in your renewal plan.
- If a certificate later expires or is revoked and you don’t have a replacement ready, users will be locked out of Foldr at that hostname until SSL is restored. Switching browsers won’t help.
- Foldr will still be reachable via the appliance’s IP address as a last-resort fallback.
Choose your starting format
| If you have… | Use |
|---|---|
| Nothing yet (you need to request a new certificate from a CA) | Branch A: request a new certificate (PEM via OpenSSL) below |
A .pfx / .p12 file (e.g. an existing wildcard or SAN exported from another server) | Branch B: extract from a .PFX / PKCS#12 file below |
Both branches end at the same point: pasting your certificate, private key, and chain into Foldr Settings.
Branch A: request a new certificate (PEM via OpenSSL)
You’ll generate a Certificate Signing Request (CSR) and a private key, send the CSR to your chosen CA, and receive a signed certificate to install.
-
Generate the CSR + private key. The fastest route is DigiCert’s Easy CSR tool (https://www.digicert.com/easy-csr/openssl.htm). It produces an OpenSSL command you copy and run locally.
The Common Name field must be the public URL of your Foldr server (e.g.
myfiles.example.com).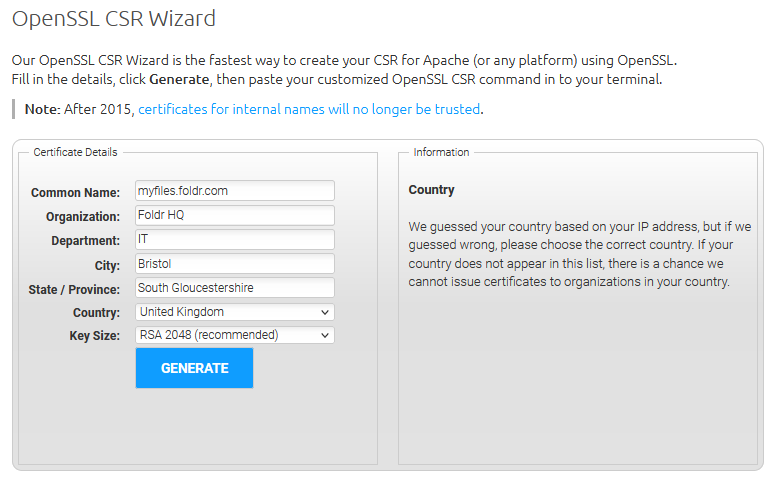
-
Run the OpenSSL command. OpenSSL is built in on macOS and most Linux distributions. On Windows, install OpenSSL Light, open an elevated command prompt, and
cdtoC:\Program Files\OpenSSL-Win64\binbefore running the command.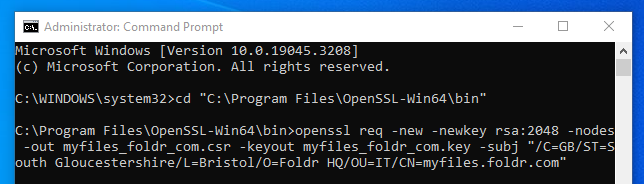
The CSR (
*.csr) and private key (*.key) are written to the working directory.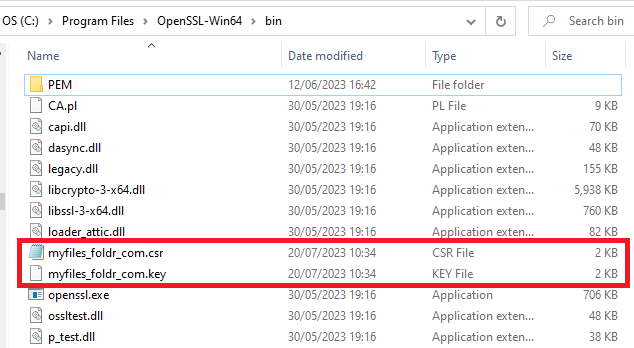
-
Move both files to a safe location such as your desktop. The private key should be kept securely and never shared.
-
Buy a certificate from your chosen CA. A basic DV certificate is sufficient. Submit the CSR (not the private key). Validate ownership of the domain when prompted (typically by email to the registered contact, sometimes via DNS or HTTP). Download the signed certificate when the CA notifies you it’s ready.
-
Skip to Paste into Foldr Settings below.
Branch B: extract from a .PFX / PKCS#12 file
A PFX file bundles a signed certificate and its private key together. Foldr expects them as separate PEM blobs, so you’ll need to extract them with OpenSSL first.
If using Windows, install OpenSSL Light (macOS and Linux have OpenSSL built in). Open an elevated command prompt and cd to C:\Program Files\OpenSSL-Win64\bin (copy your .pfx file there too).
-
Extract the (encrypted) private key:
openssl pkcs12 -in publicAndprivate.pfx -nocerts -out privateKey.pem -
Extract the certificate:
openssl pkcs12 -in publicAndprivate.pfx -clcerts -nokeys -out publicCert.pem -
Remove the password from the private key. This step is not optional. The certificate install will fail if the key is still encrypted:
openssl rsa -in privateKey.pem -out private.pemYou now have:
publicCert.pemis the certificateprivate.pemis the unencrypted private key
For SAN certificates: make sure your Foldr server’s common name is included in the Subject Alternative Names list.
-
Continue to Paste into Foldr Settings below.
Paste into Foldr Settings
-
Browse to Foldr Settings → Security → Certificates. If the server is still using its self-signed certificate, untoggle Use Default to expose the input boxes.
-
Open the certificate and private-key files in any text editor (Notepad, TextEdit) and paste them into the Certificate and Private Key boxes. Include the
-----BEGIN CERTIFICATE-----and-----END CERTIFICATE-----markers; strip any extra header attributes that appear above the BEGIN line.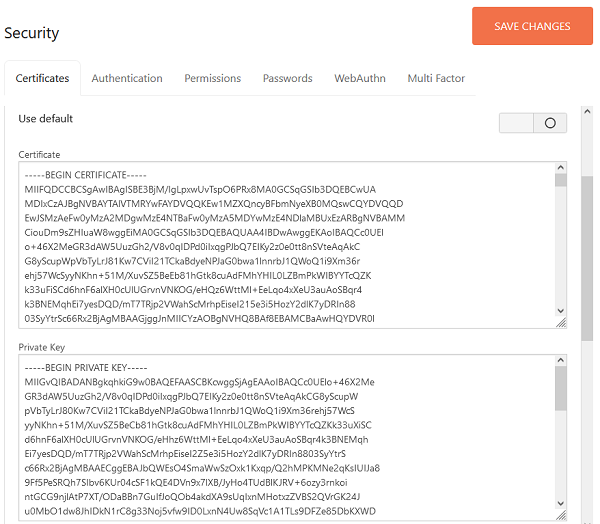
-
Obtain the Root and Intermediate Chain certificates from your CA’s support portal and paste them into the corresponding boxes. Some CAs (e.g. GoDaddy) ship a single bundle file containing both root and intermediate(s). Paste that into the Chain – optional box and leave Root – optional blank.
-
Click Save Changes. The certificate installs after a few seconds. By design, the boxes appear empty after save. That’s protecting the private key, not a failure indication.
You should no longer get certificate trust warnings when accessing Foldr via the public URL covered by the certificate. (You’ll still see warnings if you access by IP or by some other DNS name. That’s expected.)
Verify the install with an external tool like SSL Checker.
When the certificate is renewed next year, the same private key can be reused. Just paste the newly issued certificate into the Certificate box and re-supply the chain.
Configuring the External Hostname
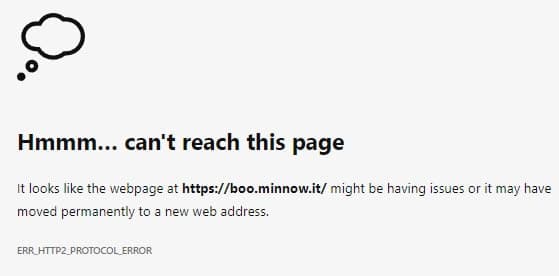
Foldr server v4.22.1.2 introduced an optional security feature where the server rejects client requests whose HTTP Host header doesn’t match a configured value. To enable it, set the External Hostname in Foldr Settings → Appliance → Network to the public FQDN of your Foldr server.
If no External Hostname is set, the server responds to client requests as normal regardless of the host header. If it’s set incorrectly, clients see a host-mismatch error like: