
This article is the end-user walkthrough for creating public links. For the comprehensive admin reference covering all sharing modes in detail, see A technical guide to Foldr’s sharing features. For sharing inside the organisation, see Sharing files and folders with others in your organisation. To customise how the public link page itself looks (e.g. when embedding in an LMS), see Customising the appearance of public links.
A public link is a URL that lets people outside your organisation access a file or folder you own in Foldr. Useful for content that’s too large or sensitive to send by email, and for any one-off transfer to a recipient who isn’t a Foldr user.
By default a public link uses a randomly generated string at the end of your Foldr URL. You can change that to a friendlier custom name, set an expiry, password-protect the link, or restrict it to specific recipient email addresses. The article walks through each option in turn.
Note: the controls below assume the Foldr administrator has enabled public-link sharing. If you don’t see these tools, contact your administrator.
Creating a public link to a single file
-
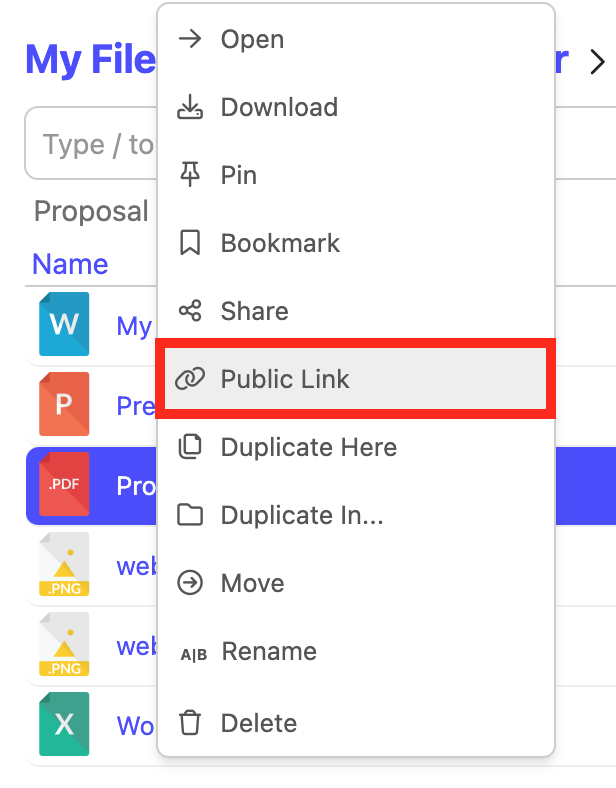
Open Foldr in the web app, browse to the file in My Files, and right-click it.
-
From the context menu, choose Public Link.
-
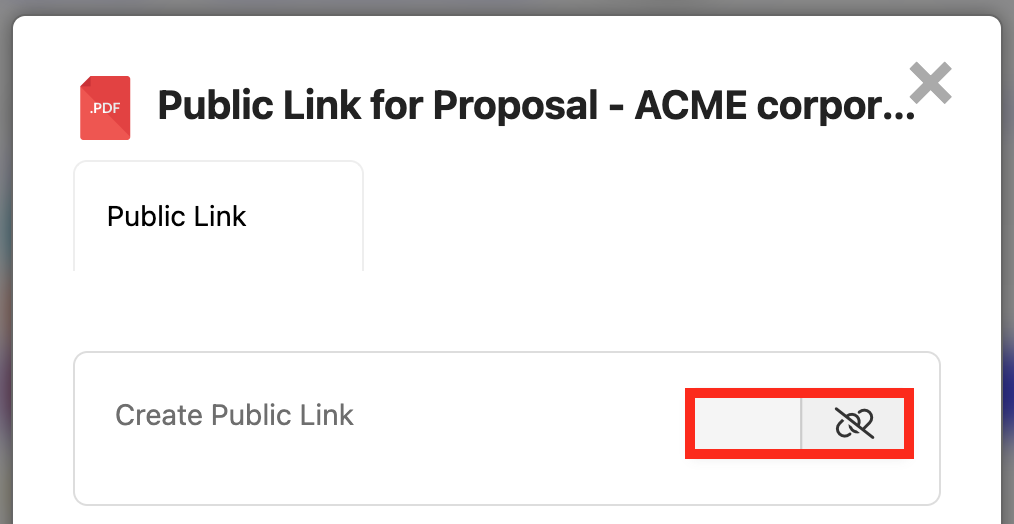
The Public Link dialog opens. Toggle Create Public Link on.
-
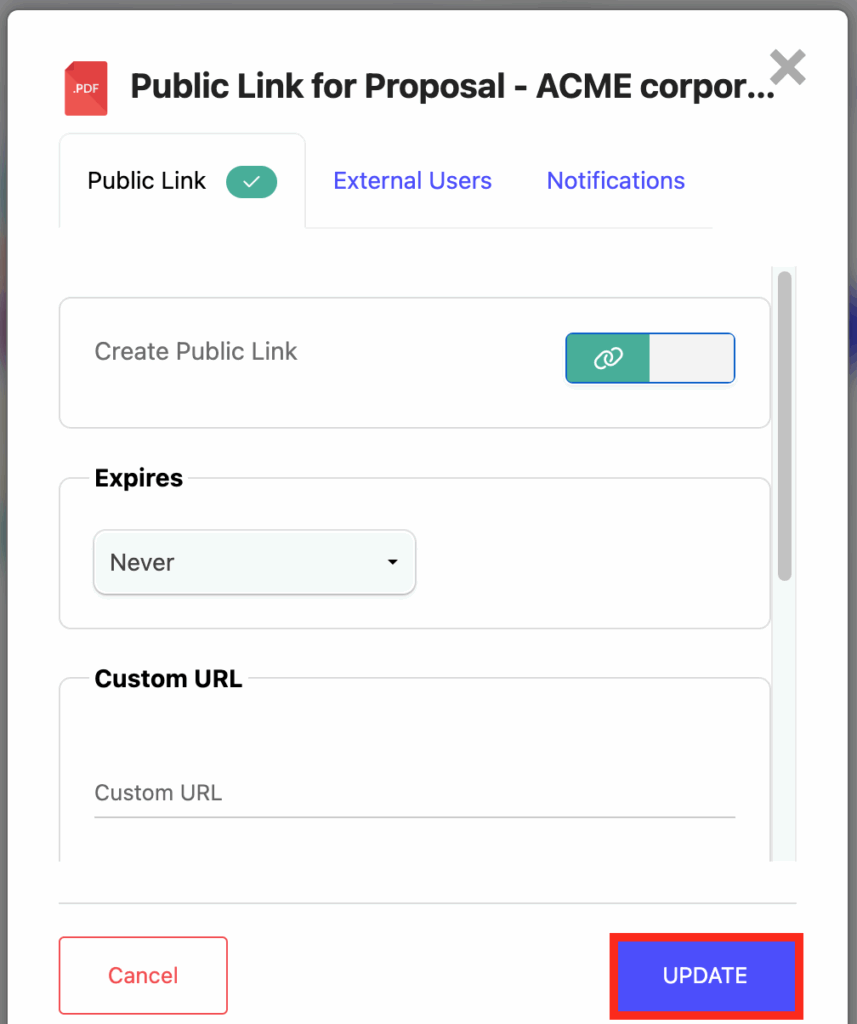
The link options appear (covered below). Click UPDATE to create the link.
-
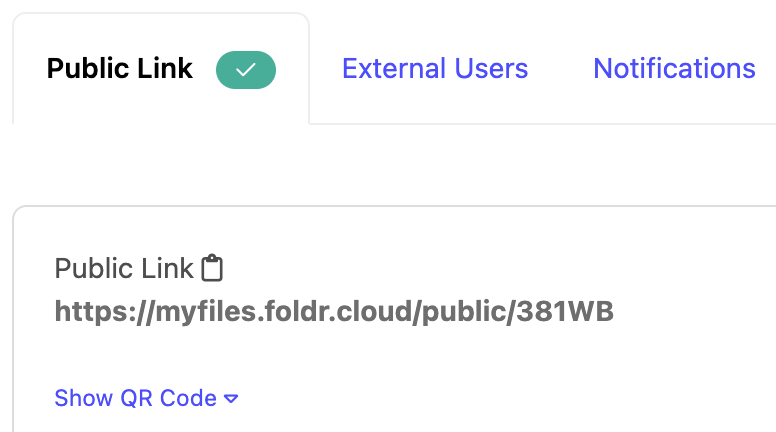
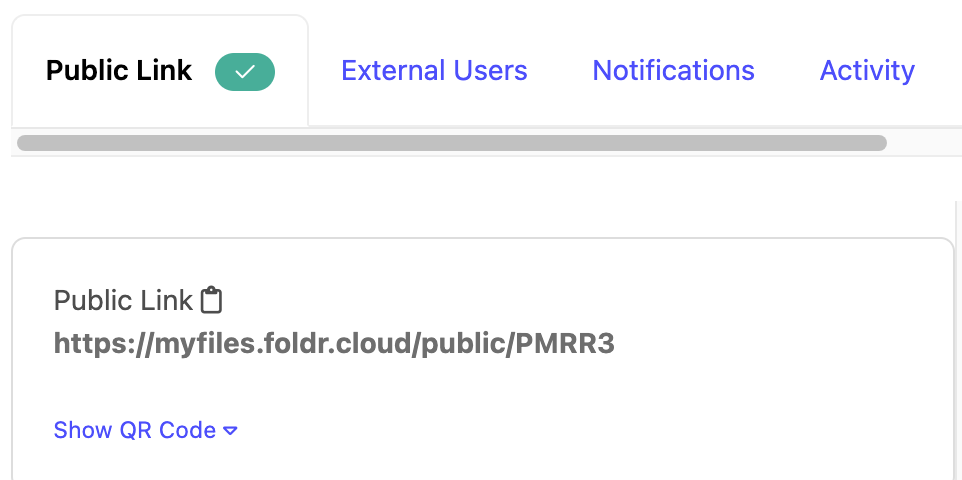
The public link URL appears at the top of the dialog.
-
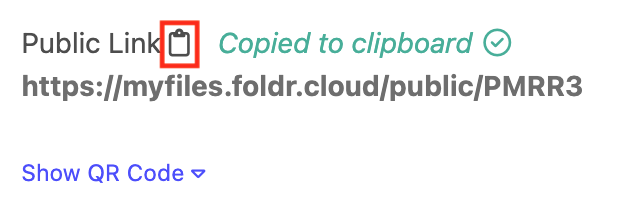
Click the clipboard icon next to the URL to copy it, or select and copy the text.


A shared badge now appears on the file in Foldr.

The item also appears in Shared by Me in the left-hand menu.

The recipient opens the link directly in any browser. Common image formats and PDFs preview in-browser via the View button; the Download button saves the file locally.

Creating a public link to a folder
The flow is the same as for a single file:
-
In My Files, right-click the folder you want to share, and choose Public Link.
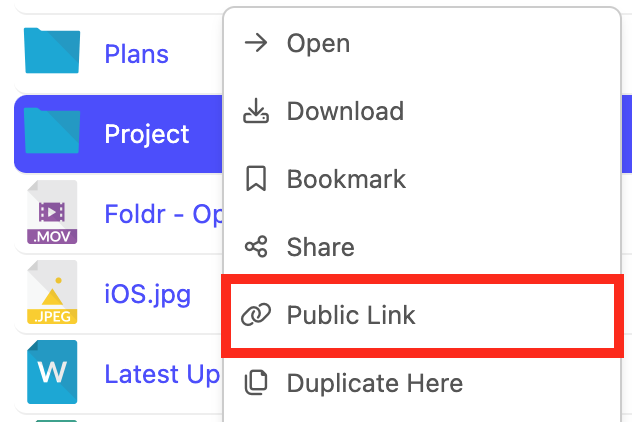
You can also click into the folder and use the Share button at the top right, then pick the Public Link tab in the dialog.

-
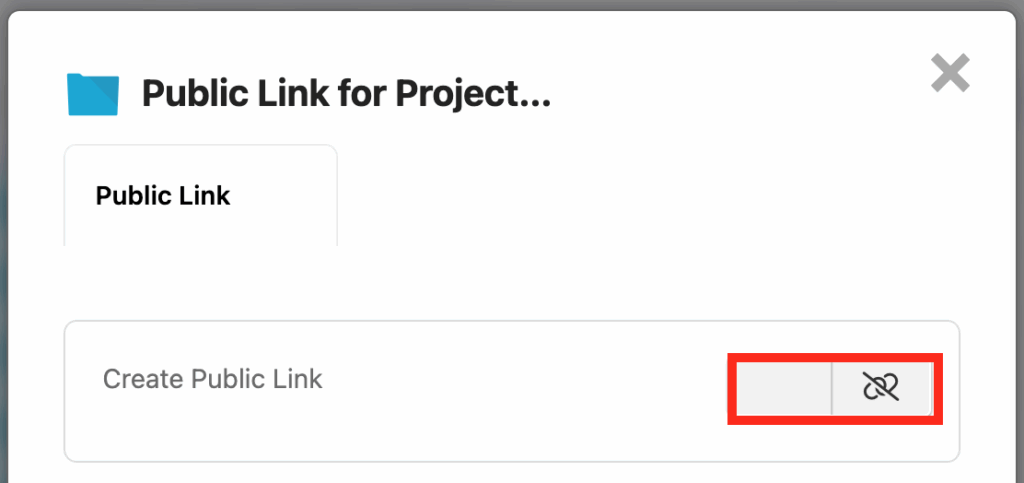
Toggle Create Public Link on.
-
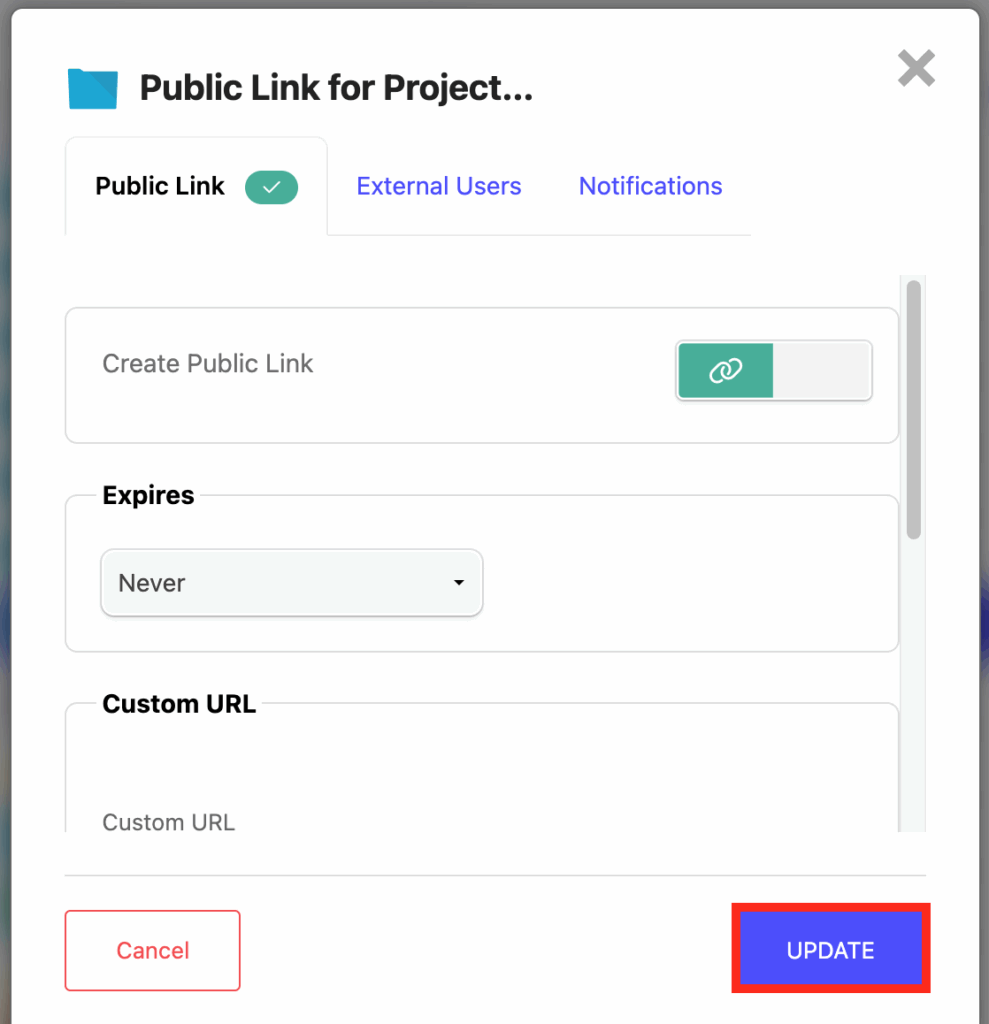
Click UPDATE to create the link.
-
Copy the URL.


The recipient browses the folder at the public-link URL (with /browse appended automatically). Subfolders are navigable; individual files preview or download as in the single-file case. The folder can also be downloaded in one go as a .zip via the Download button.

Removing a public link
To stop sharing, open the Public Link dialog and toggle Create Public Link off, then click UPDATE. Or use the inline X in the Shared by Me list.

Confirm with Yes, Continue.

Setting an expiry
Public links can expire automatically. Open the Expiry drop-down in the Public Link dialog:

- On download makes it a one-time link: the first successful download burns the link.
- On date lets you pick a calendar date.

Click UPDATE to save. Recipients see the expiry condition at the top of the public-link page.

Using a custom URL
Instead of the random hash, give the link a friendly name in the Custom URL field. You can set this when creating the link or by editing it later. Spaces are converted to hyphens automatically.


Adding a description
A description appears at the top of the public-link page, above the file or folder. Useful for context (“This is the proposal you asked for last Tuesday…”).
In the Public Link dialog, find the Description drop-down. The same item can be shared internally and via a public link, so descriptions are kept separate per channel.

Choose Use Public Description and type the text.

Click UPDATE. The description appears on the public-link page immediately.

Restricting access with a password
In the Public Link dialog, scroll to Password and toggle Require password on.

Set the password and click UPDATE.

Recipients are prompted for the password before the file or folder is revealed.

Restricting access to specific recipients (Secure Links)
A more controlled alternative to a fixed password is to restrict access by email address. This is referred to in the UI as External Users and produces a Secure Link: each named recipient gets their own access, and you can monitor who opened it.
The External Users tab in the dialog applies to people outside your organisation. To share with internal colleagues, use the Share context menu instead.
When you add an external user, Foldr emails them a notification with the link. If you also grant upload permission on a folder share, you’ll get an email each time they upload.
For the full walkthrough including upload-enabled Secure Links, see Configuring and enabling secure links for users.
Monitoring link activity
The Activity tab in the Public Link dialog lists every access event for the link. The Views tab shows the total view count.

Related articles
- A technical guide to Foldr’s sharing features: admin reference for all sharing modes.
- Sharing files and folders with others in your organisation: internal sharing.
- Configuring and enabling secure links for users: Secure Links setup including upload-enabled folders.
- Customising the appearance of public links: branding the public-link page.